Des étiquettes cadeau en argile
22/11/2022
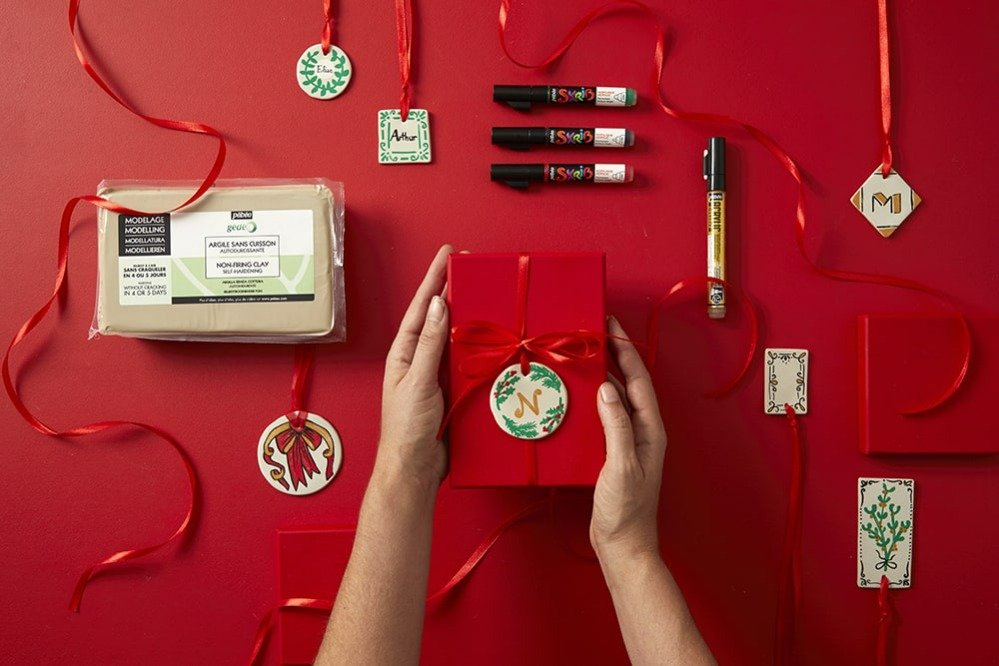
Créez de jolies étiquettes cadeau en argile inspirées d’étiquettes
rétro.
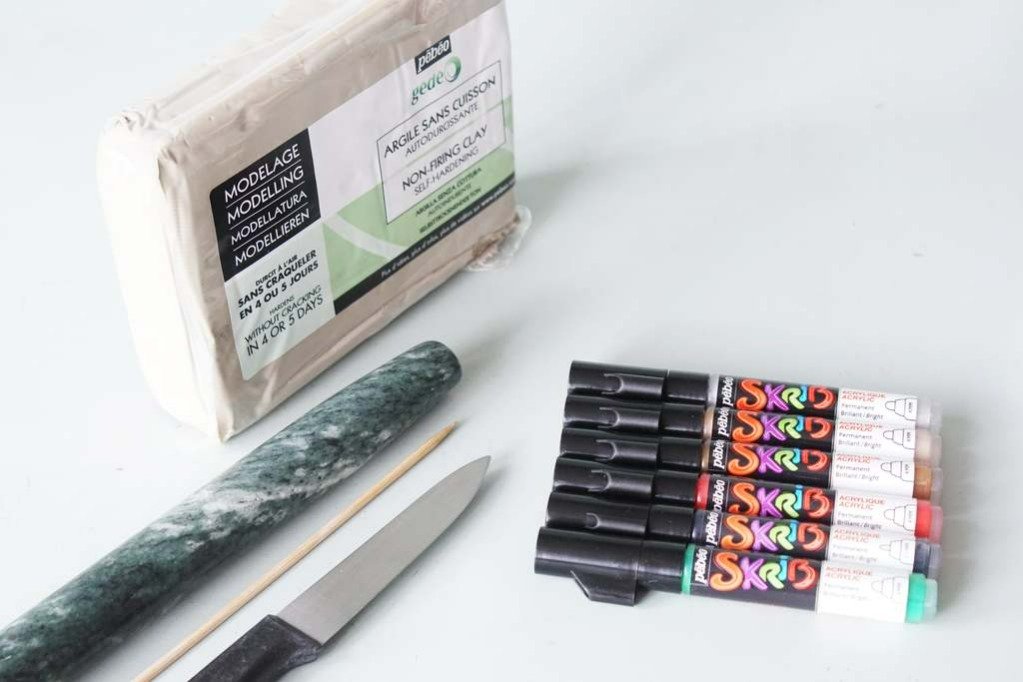
Matériels :
- L'argile sans cuisson blanche
- Des outils de modelage (rouleau, cure-dent, couteau)
- Des emporte-pièces ronds, ou des verres de différents diamètres
- Du papier de verre fin
- Des feutres Skrib acrylique
- De jolis rubans
Niveau de difficulté :
- Temps de séchage : 48 heures
- Temps de réalisation : 2 h pour 7 étiquettes
- Difficulté : moyen - À partir de 7 ans à l’aide d’un adulte
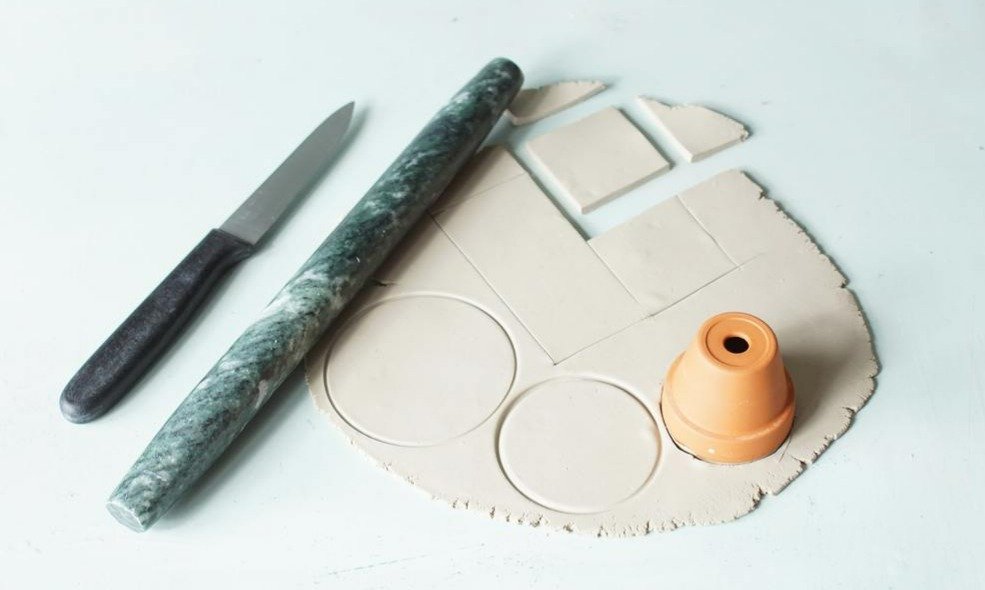
Étalez l’argile pour obtenir une plaque d’environ 2mm d’épaisseur.
Découpez des ronds, des carrés, des rectangles dans cette plaque en se servant d’emporte-pièces et du couteau.
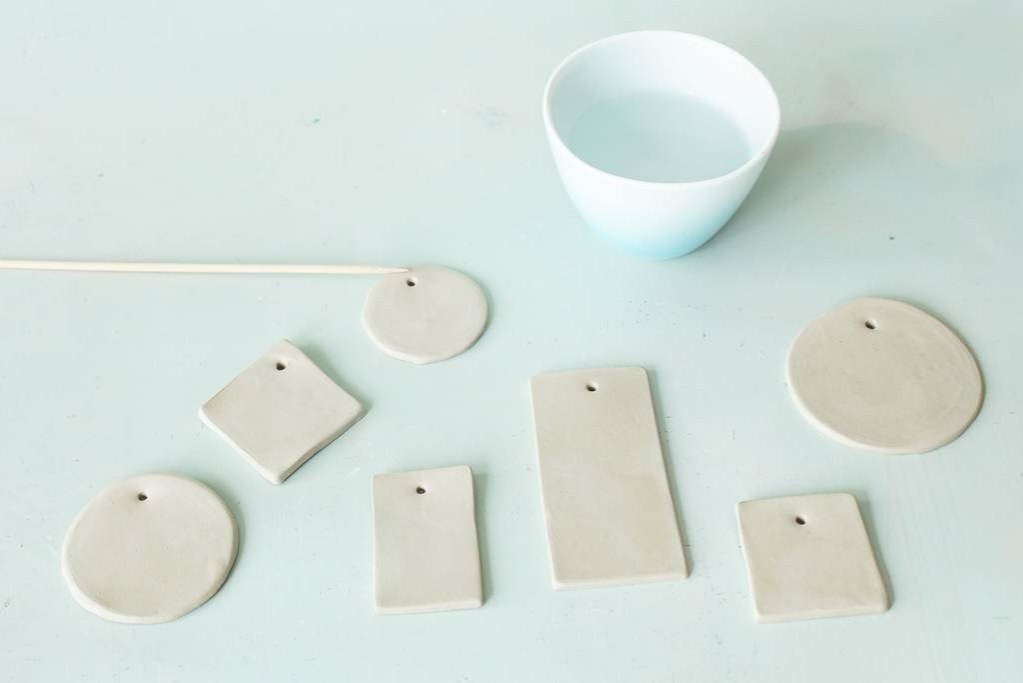
Percez un trou dans le haut de chaque forme pour pouvoir l’accrocher par la suite. Si besoin, lissez et arrondissez les angles de toutes les formes au doigt, avec un peu d’eau.
- Laissez sécher l’ensemble pendant 2 ou 3 jours.
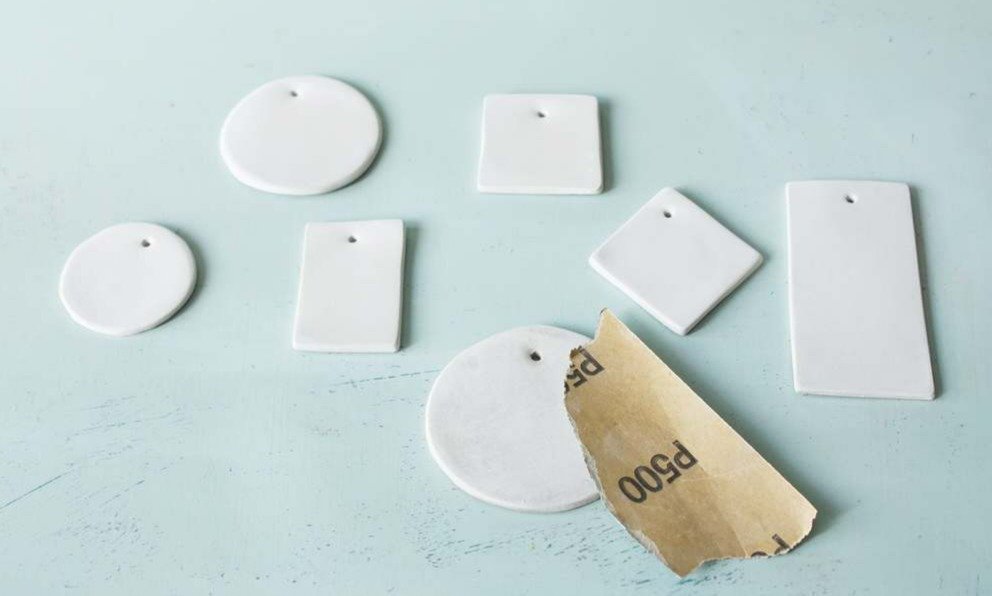
Si nécessaire,
une fois qu’elles sont bien sèches, poncez vos étiquettes au papier de verre
fin.
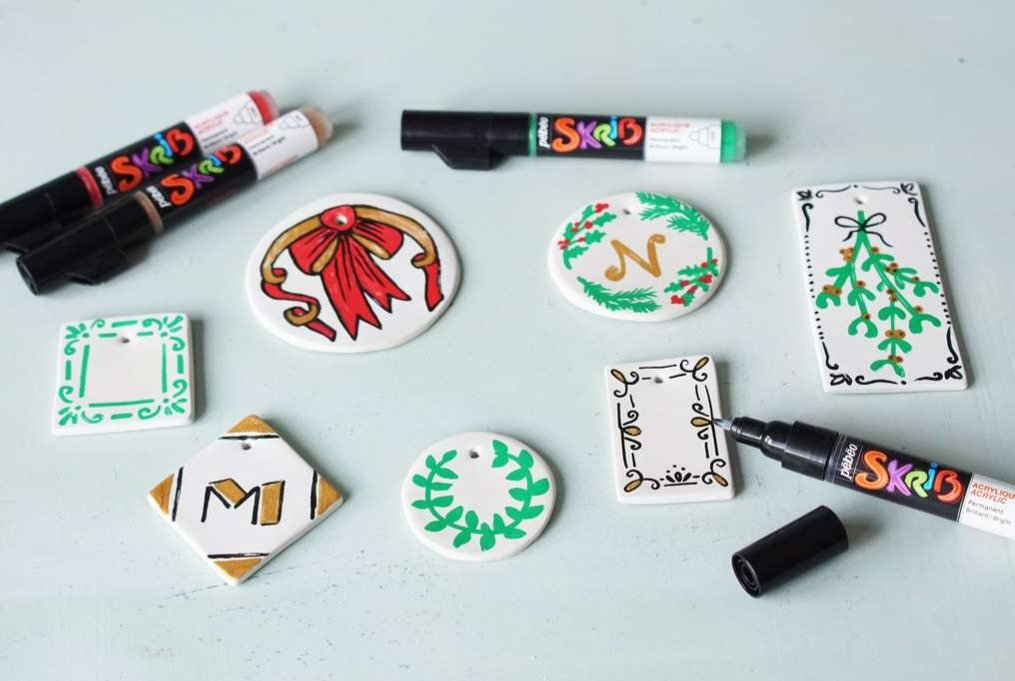
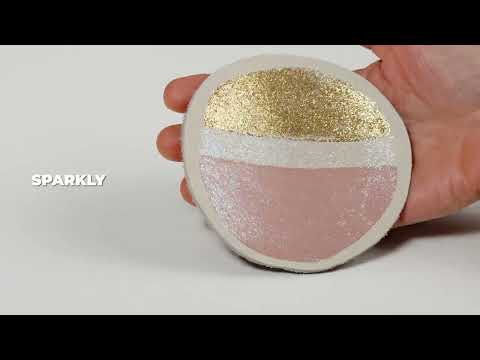
- En s’inspirant des photos des étiquettes réalisées, dessinez des ornements sur chaque étiquette : couronne végétale, monogramme, noeud… Vous pouvez les dessiner au crayon à papier avant de vous lancer avec les feutres Skrib acrylique.
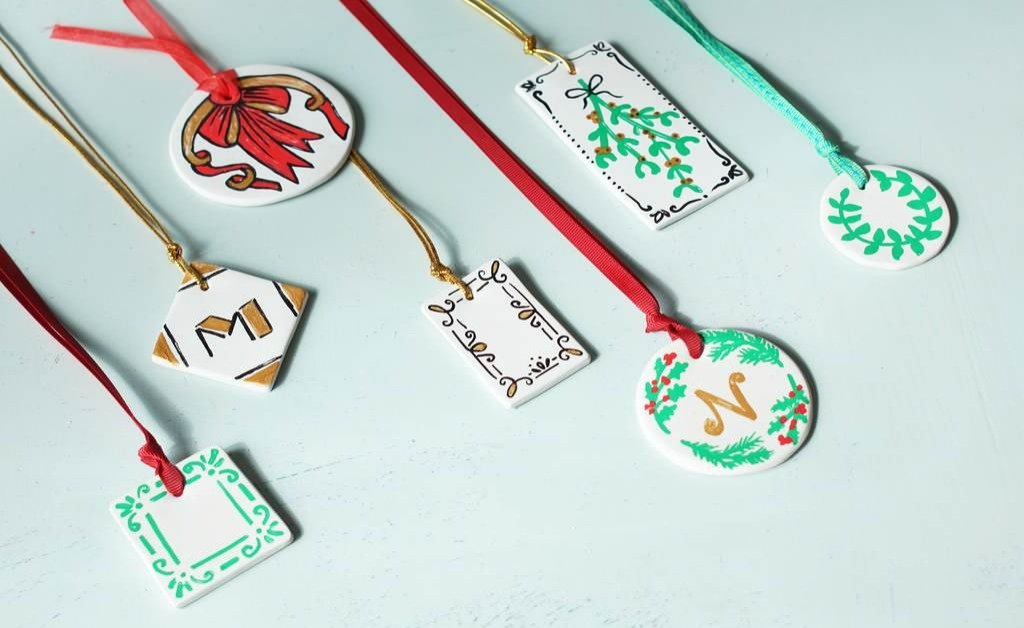
Glissez un ruban dans le trou de chaque étiquette.
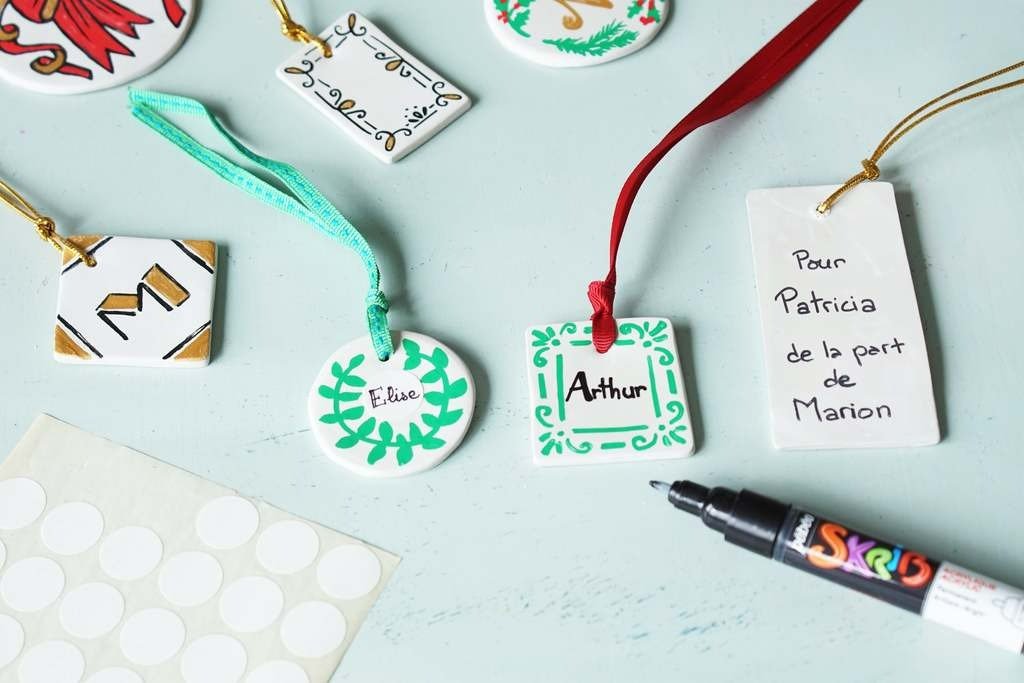
Pour personnaliser vos étiquettes avec le nom de la personne à qui vous offrez un présent, vous avez diverses solutions:
- Écrire son nom au feutre Skrib acrylique au centre.
- Coller un autocollant au centre avec son prénom afin que la personne puisse ensuite l’enlever et conserver cette étiquette comme ornement.
- Écrire votre message au dos de l’étiquette avec un stylo fin.
Il ne reste plus qu’à accrocher ces jolies étiquettes sur les cadeaux ! Vous pouvez aussi les utiliser comme décoration dans le sapin de Noël.
Produits Connexes
à lire aussi
@PEBEO Suivre Pébéo sur Instagram
Newsletter
Inscrivez-vous à notre Newsletter et restez informé de nos actualités. Pour en savoir plus sur la gestion de vos données personnelles et pour exercer vos droits, cliquez, ici
